
react-map-glのMarkerを使って、地図上にMUIのアイコンを表示します。
ここでは、mapMarkersオブジェクトが持つtopic_category_keyによって、表示するアイコンを変更するように実装しています。
MarkerIconコンポーネントを作成
Mapboxの地図上に表示したいMUIのアイコンを定義します。
先頭でMUIのアイコンをインポートします。
コードは、Material Iconsのサイトからコピーしてきます。
Propsでtopic_category_keyを受け取り、その値に応じて返すIconを指定してreturnします。
MUIの書き方でsxプロパティを使うと、任意のCSSが追加できます。
MUIのIconはsvgなので、svgで使用できるstrokeプロパティなどを使っています。
import HolidayVillageIcon from '@mui/icons-material/HolidayVillage'
import StorefrontIcon from '@mui/icons-material/Storefront'
import LocationOnIcon from '@mui/icons-material/LocationOn'
import styled from 'styled-components'
import React from 'react'

interface Props {
  topic_category_key: number
}

export default React.memo(function MarkerIcon(props: Props) {
  switch (props.topic_category_key) {
    case 1:
      return (
        <MarkerIconWrapper>
          <HolidayVillageIcon
            sx={{ color: '#386E7C', fontSize: 40, strokeWidth: '4px', stroke: '#fff', paintOrder: 'stroke' }}
          />
        </MarkerIconWrapper>
      )
    case 2:
      return (
        <MarkerIconWrapper>
          <StorefrontIcon
            sx={{ color: '#EDA83D', fontSize: 40, strokeWidth: '6px', stroke: '#fff', paintOrder: 'stroke' }}
          />
        </MarkerIconWrapper>
      )
    default:
      return (
        <MarkerIconWrapper>
          <LocationOnIcon
            sx={{ color: '#CEDBD0', fontSize: 40, strokeWidth: '4px', stroke: '#fff', paintOrder: 'stroke' }}
          />
        </MarkerIconWrapper>
      )
  }
})

const MarkerIconWrapper = styled.div`
  svg {
    transition: 0.3s all;
  }
`
styled-componentsでMarkerIconWrapperを作成したのは、Iconをhoverした時にtransitionしてほしかったためです。
本記事では関連するコンポーネントは書きません。
mapMarkersオブジェクトを定義
mapMarkersオブジェクトを定義します。
緯度経度とMarkerIconコンポーネントで表示したいtopic_category_keyをセットします。
実際はAPIから取得して動的にセットすることになると思います。
const mapMarkers = [
  {
    "id": "marker1",
    "lng": -0.1257,
    "lat": 51.508,
    "topic_category_key": 1
  },
  {
    "id": "marker2",
    "lng": -0.1275,
    "lat": 51.507,
    "topic_category_key": 2
  },
  {
    "id": "marker3",
    "lng": -0.1425,
    "lat": 51.500,
    "topic_category_key": 3
  },
]
MapにIconを描画する
react-map-glのMapコンポーネントのchildrenに渡してMarkerを描画します。
mapMarkersオブジェクトをmapで回し、MapMarkerコンポーネントを生成します。
MapMarkerの中でMarkerIconを呼び出し、MUIのIconを表示します。
<Map
id='map'
initialViewState={{
zoom: 17
}}
reuseMaps
mapStyle={'mapbox://styles/mapbox/streets-v11'}
mapboxAccessToken={process.env.NEXT_PUBLIC_MAP_BOX_TOKEN}
>
<NavigationControl />
{mapMarkers.map(m => {
return (
<MapMarker
key={m.id}
longitude={m.lng}
latitude={m.lat}
anchor='center'
style={{ cursor: 'pointer' }}
>
<MarkerIcon topic_category_key={m.topic_category_key} />
</MapMarker>
)
})}
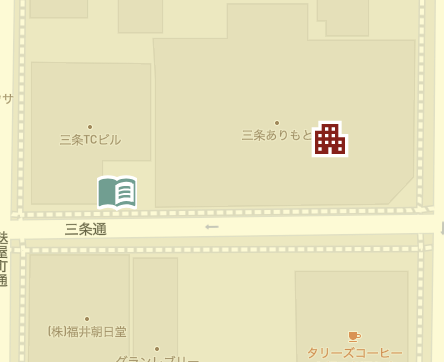
</Map>こんな感じに表示されます。
Summary
MapboxのAPIは分かりやすく、呼び出しやすいです。
任意のsvgファイルを読み込むこともできますが、作成する時間がなければMUIのIconで代用するのもありですね。