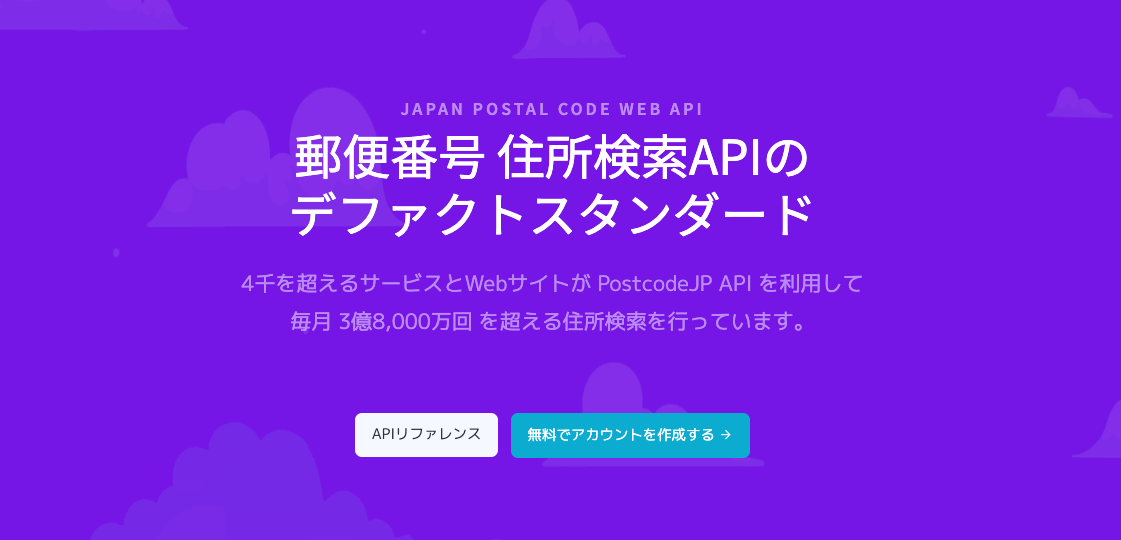
Use the PostcodeJP API, which is considered the de facto standard for postal code address search APIs.
It is a simple API that uses API keys and has the necessary postal code API, prefecture API and municipal API.
It also has a wide range of plans, making it easy to choose according to the scale of the service.
In this article, I will go on to implement an API for obtaining prefectures and municipalities from postal codes in Nestjs.
API request limits
There are a variety of plans available, including Free, Small, Mid, Standard, Large and Pro.
For the sake of clarity, only the Free and Pro plans are listed here.
Free
- requets times
- 384 times/day
- requests rate
- 1 times/day
Pro
- requests times
- unlimited
- requests rate
- unlimited
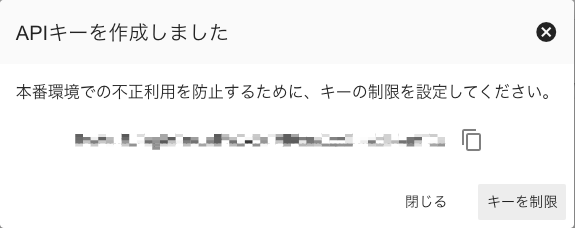
Publish API key with the PostcodeJP API.
https://console.postcode-jp.com/login
Log in to.
If you do not have an account, go to ‘Create an account‘.
After logging in, click on ‘Create API key’.

An API key is created and should be noted.
Click ‘Restrict key’ here to restrict the HTTP referrer and IP address restrictions, so you can restrict the API key as required.
Implementing API endpoints with Nestjs.
Hitting the commands listed in the nestjs formula will automatically create a CRUD.
It is useful because the command also imports what is needed for the module.
$ nest g resource <resource_name>
Here is the final directory structure.
<repogitory>
 ├.env
 └src
  ├app.module.ts
  └postcode
   ├dto
   │└postcode.dto.ts
   ├postcode.controller.ts
   ├postcode.module.ts
   └postcode.service.ts
.env
Define the environment variables required to use the PostcodeJP API in .env.
POSTCODEJP_API_BASE_URL="https://apis.postcode-jp.com/api/v5/postcodes"
POSTCODEJP_API_KEY=""
Define the API key you have previously noted in POSTCODEJP_API_KEY.
The base URL of the PostcodeJP API can be found here.
dto
Defines the object to be returned in the API response.
Returns the postcode, prefecture and city.
import { ApiProperty } from '@nestjs/swagger';

export class PostcodeDto {
  @ApiProperty()
  postcode: string;
  @ApiProperty()
  pref: string;
  @ApiProperty()
  city: string;
}
service
Create a getPostInfo method and return the prefecture and city associated with the postcode.
If there is no postal code associated with the postcode, a BadRequestException is raised.
As an implementation, when requesting the PostcodeJP API, include apikey: process.env.POSTCODEJP_API_KEY in the headers.
One point to note is that HttpService.get() returns Observable, so you need to use rxjs –lastValueFrom to retrieve the request data in promise form.
Also, although omitted in this case, you should include postcode validation in a timely manner.
import { HttpService } from '@nestjs/axios';
import { BadRequestException, Injectable } from '@nestjs/common';
import { lastValueFrom, map } from 'rxjs';
import ErrorCode from '../common/constants';
import { PostcodeDto } from './dto/postcode.dto';

@Injectable()
export class PostcodeService {
  constructor(private httpService: HttpService) {}

  async getPostInfo(postcode: string): Promise<PostcodeDto> {
    const headers = {
      apikey: process.env.POSTCODEJP_API_KEY,
    };

    const postcodeList = await lastValueFrom(
      this.httpService
        .get(`${process.env.POSTCODEJP_API_BASE_URL}/${postcode}`, {
          headers: headers,
        })
        .pipe(map((response) => response.data)),
    );

    if (!postcodeList.length) {
      throw new BadRequestException();
    }

    const postcodeItem = postcodeList.shift();

    return {
      postcode: postcode,
      pref: postcodeItem.pref,
      city: postcodeItem.city,
    };
  }
}
controller
Create a findOne method, accept a postcode as an argument and process it with service.
@ApiBearerAuth() is a mechanism that checks if nestjs takes Auth and can only be executed by an authorised user.
Add or remove as required.
import { Controller, Get, Param } from '@nestjs/common';
import {
  ApiBearerAuth,
  ApiOperation,
  ApiProduces,
  ApiResponse,
  ApiTags,
} from '@nestjs/swagger';
import { PostcodeDto } from './dto/postcode.dto';
import { PostcodeService } from './postcode.service';

@Controller('postcode')
@ApiTags('/postcode')
export class PostcodeController {
  constructor(private readonly postcodeService: PostcodeService) {}

  @Get(':postcode')
  @ApiBearerAuth()
  @ApiProduces('application/json; charset=utf-8')
  @ApiOperation({ summary: '郵便番号から都道府県・市区町村を取得' })
  @ApiResponse({
    status: 200,
    description: '郵便番号から都道府県・市区町村を取得',
    type: PostcodeDto,
  })
  findOne(@Param('postcode') postcode: string): Promise<PostcodeDto> {
    return this.postcodeService.getPostInfo(postcode);
  }
}
module
Add controllers, imports and providers to @Module and tie them together.
import { HttpModule } from '@nestjs/axios';
import { Module } from '@nestjs/common';
import { PostcodeController } from './postcode.controller';
import { PostcodeService } from './postcode.service';

@Module({
  controllers: [PostcodeController],
  imports: [HttpModule],
  providers: [PostcodeService],
})
export class PostcodeModule {}
app.module.ts
Import PostcodeModule.
import { PostcodeModule } from './postcode/postcode.module';

@Module({
  imports: [
    ConfigModule.forRoot({
      isGlobal: true,
      envFilePath: [`.env`, `.env.${process.env.NODE_ENV}`],
      load: [],
    }),
    PostcodeModule,
  ]
})
export class AppModule implements NestModule {
  configure(consumer: MiddlewareConsumer) {
    consumer.apply(RequestMiddleware, CorsMiddleware).forRoutes('*');
  }
}
API Requet
If you pass a postcode from swagger and hit the API, it will return the prefecture and city associated with the postcode.
Summary
The Pro plan can be implemented as it is because the number of requests and request rates are unlimited, but with the Free plan, there are restrictions, so a caching strategy should be considered.
The best plan and design should be based on the scale of the service.