I tried to easily launch a web application using PHP with LightSail. LightSail can be built easily, cheaply, and quickly, so I think it’s useful for launching small sample sites.
Launch a server instance
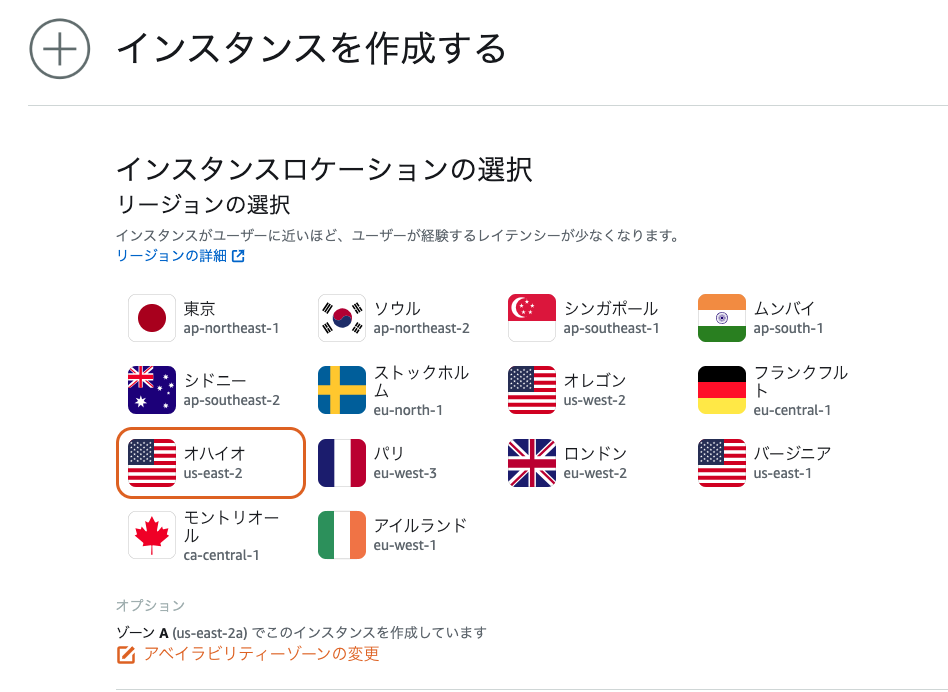
Go to the Amazon Lightsail home and click on ‘Create Instance’.

Select the location of the instance.
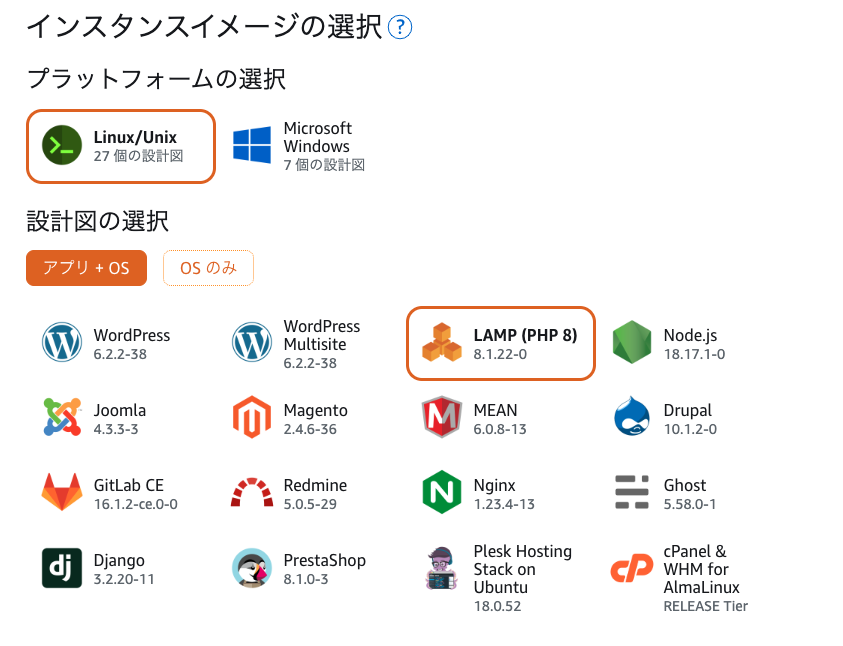
Select the image of the instance.
This time you want to create a PHP environment, so select LAMP (PHP 8).
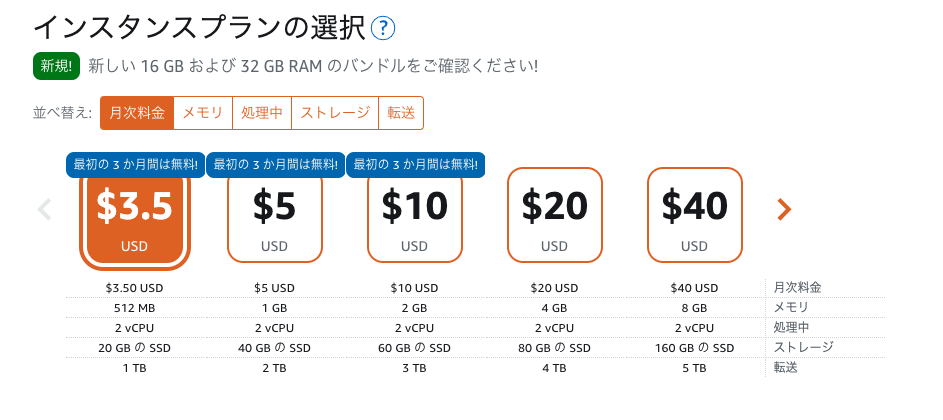
Select the plan of the instance.
The choice is based on the type of web application and the operational load.
In this case, the number of accesses is occasional and not processed by the server, so it is set to the lowest number.
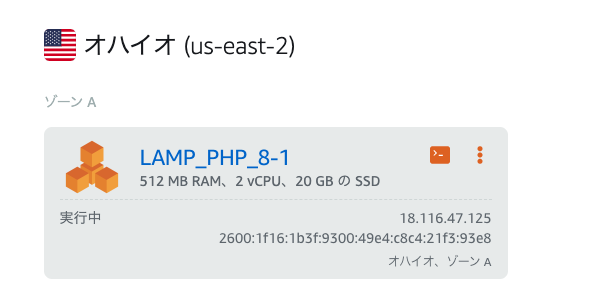
Click on the ‘Instantiate’ button and it will be created and running.
Deploying applications
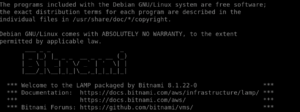
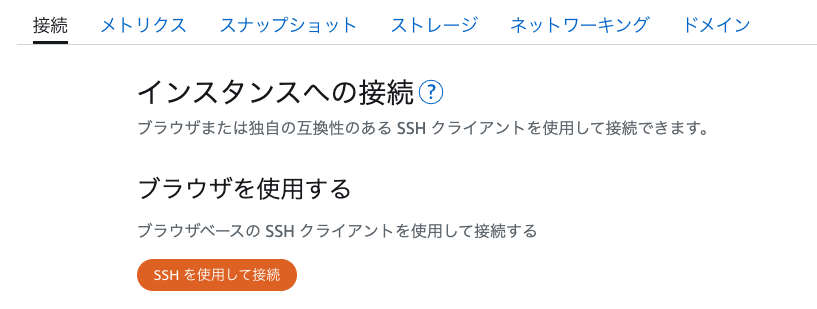
Click on ‘Connect using SSH’.
Version check
Check the environment of the instance.
Hit the command and check that PHP and Composer are the intended versions.
$ php -v
PHP 8.1.22 (cli) (built: Aug  1 2023 18:31:41) (NTS)
Copyright (c) The PHP Group
Zend Engine v4.1.22, Copyright (c) Zend Technologies
    with Zend OPcache v8.1.22, Copyright (c), by Zend Technologies
$ composer -V
Composer version 2.5.8 2023-06-09 17:13:21Deploying applications
Clone the Repository from Git and deploy the application.
Deploy the Repository here.
$ cd /home/bitnamigit clone.
It doesn’t have to be GitHub, it can also work by simply placing a .php file and changing the public directory as described below.
$ git clone <repository_name>Change of public directory
The following directory is the LAMP public directory, but change the public folder to the directory you want to publish to.
$ /opt/bitnami/apache2/htdocsModify the Apache configuration file.
$ vi /opt/bitnami/apache2/conf/bitnami/bitnami.confCorrect the following areas.
DocumentRoot "/home/bitnami/<repository_name>/<publish_directory>"
 <Directory "/home/bitnami/<repository_name>/<publish_directory>">
Restart Apache to reflect the configuration.
$ sudo /opt/bitnami/ctlscript.sh restartYou can access the IP address from your browser and see that the html of the is displayed.
Changing a dynamic IP address to a static IP address
When an instance is created, it becomes a dynamic IP and the IP address changes every time the instance is restarted.
To prevent this, change to a static IP.
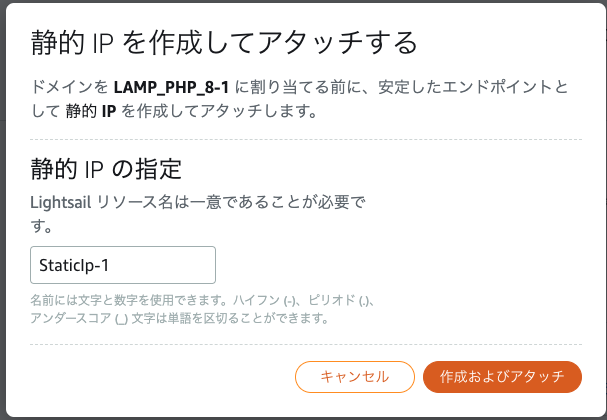
Select the Networking tab and click ‘Attach static IP’.

Click on ‘Create and attach’ to complete the configuration.
Summary
Basically, you can deploy an application with just a click and a few changes.
This is useful for building sample sites and the like.
SSL and DNS need to be done separately, so we’ll come back to that.