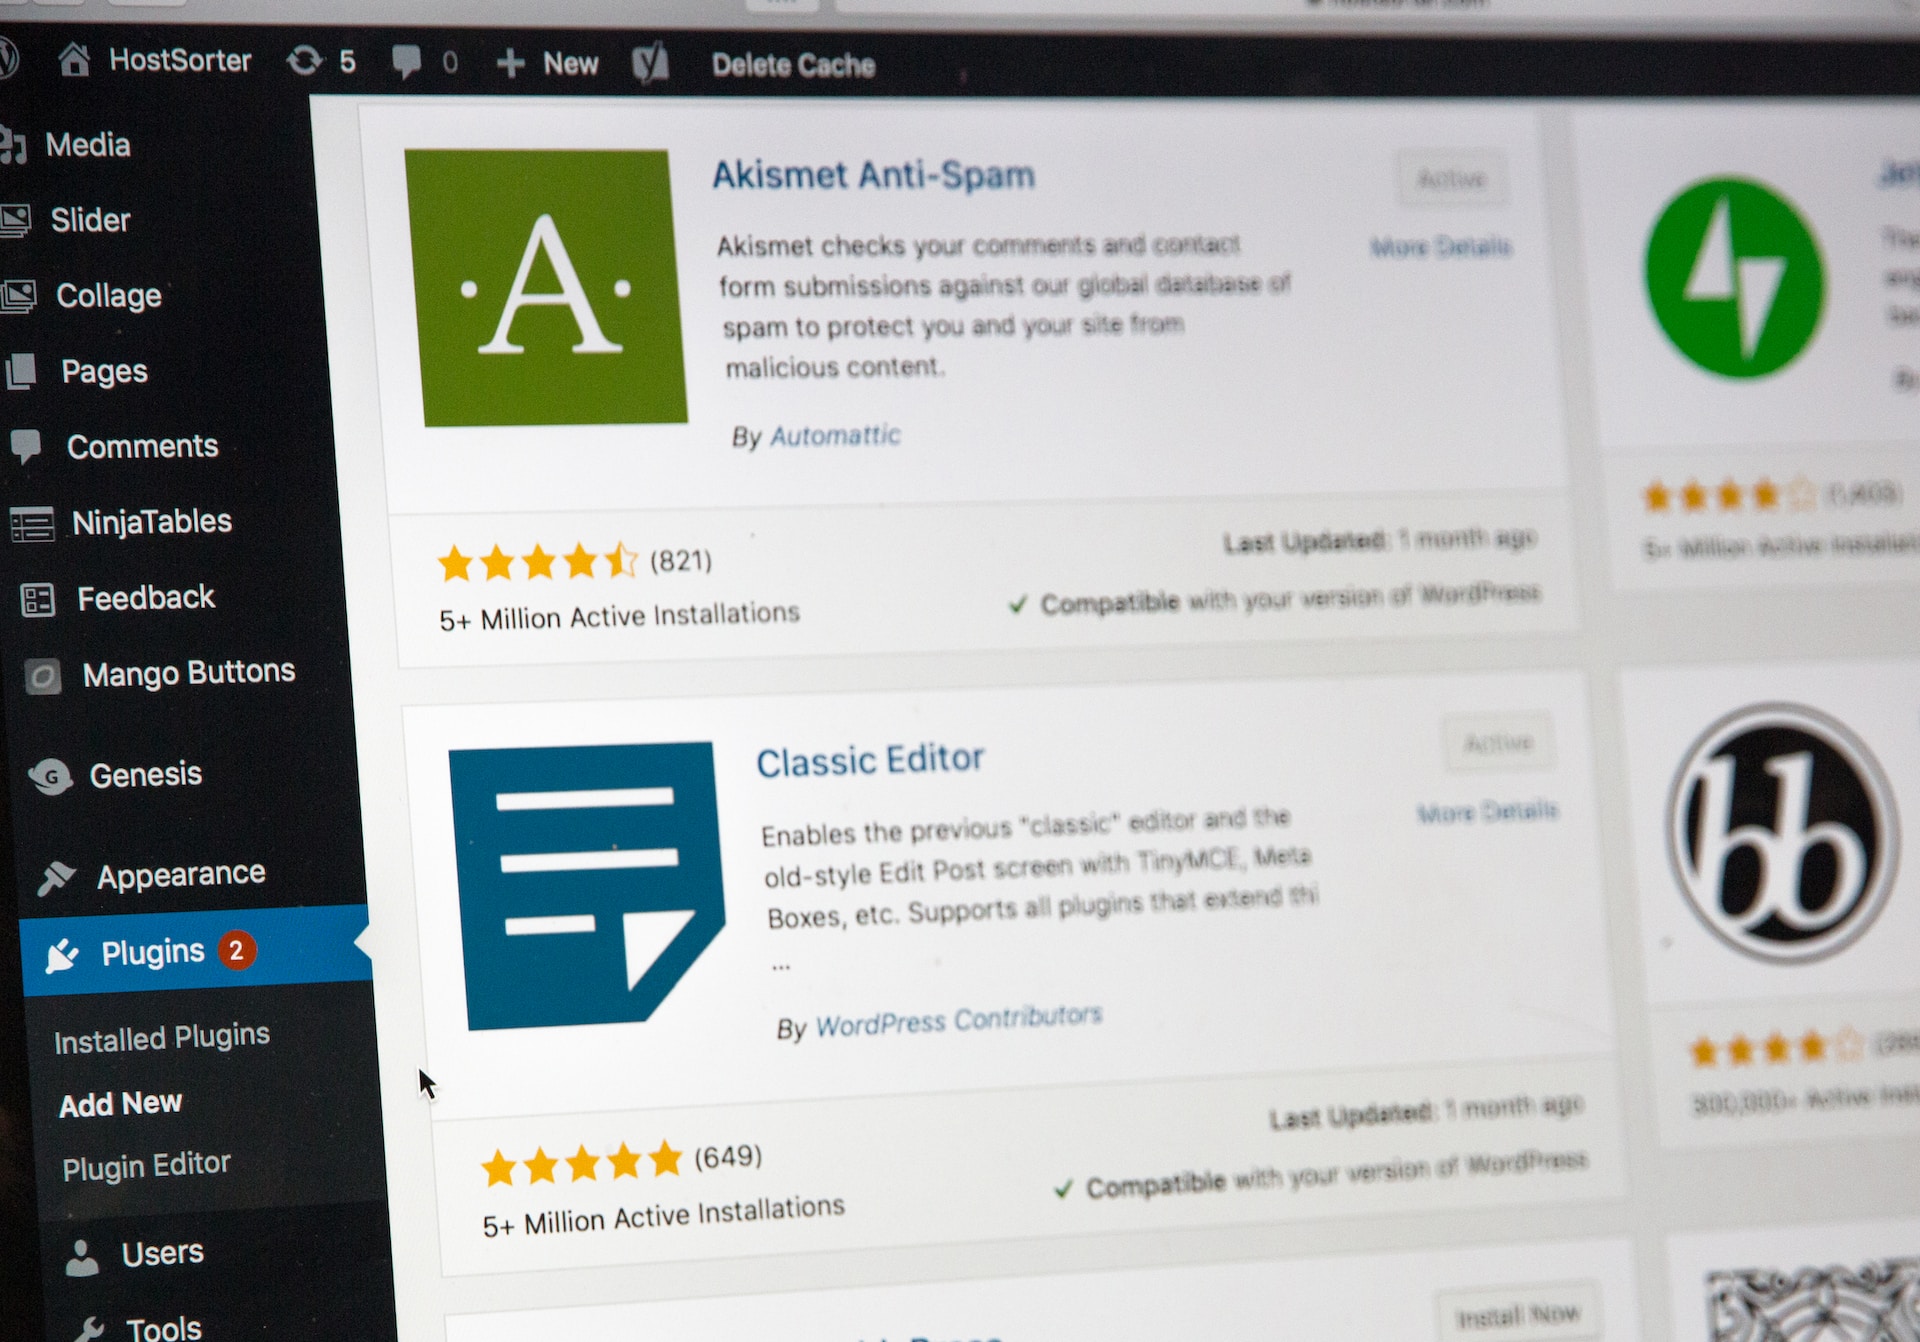
This article assumes that no plug-ins are used and that they are defined in functions.php.
The advantage of not using plugins is that you can manage the code base on GitHub.
The reason for creating custom posts that do not create permalinks is that we wanted to realise that we do not generate extra URLs for use that are called from PHP. Of course, it is also possible to call them from the API.
Creating custom posts
Custom posts can define various options in register_post_type.
function create_member_custom_post_type() {
    $args = array(
        'label'  => 'Custom Post',  // 管理画面で表示するラベル
        'public' => false, // フロントで表示するか
        'show_ui' => true, // 管理画面にてカスタム投稿タイプを表示するか
        'show_in_rest' => true, // true:「Gutenberg」/ false:「ClassicEditor」
        'exclude_from_search' => true, // 検索結果からこの post_type を選択候補から外す
        'publicly_queryable' => false, // フロントエンドで投稿タイプのクエリを実行できるかどうか
        'supports' => array('title', 'editor', 'revisions' ), // 投稿時に、使用できる投稿用のパーツを指定する
    );
    register_post_type('api_member_post', $args);
}
The bool value of $public defines whether it should be displayed on the front-end.
In other words, the bool value here defines “whether permalinks should be displayed”.
Be careful, the $public value is inherited by $exclude_from_search, $publicly_queryable and $show_ui.
Therefore, if you want to define something specific, you need to change the bool value.
For example, in this case, we did not want custom posts to be searched, so we set $exclude_from_search to true.
For more information on register_post_type, please refer to the official documentation for a better understanding.

Finally, it is registered with the add_action hook.
add_action('init', 'create_member_custom_post_type');You can now refresh the administration screen and your custom posts will appear and be available.
Summary
Code-based management is recommended, as it is easier to understand over time and, if a transfer is required, it can be completed using only the theme file.


