Initialising a Windows PC is commonly carried out via the Recovery option.
System restore points are provided by Windows, a feature that allows PCs to be restored to their factory default state.
In my case, this recovery option was not available.
This is probably because of the effect of changing the Windows OS edition from home to Pro, because I changed the whole thing from OS to OS, so the recovery point is missing.
If you bought it from a normal shop and are using it as is, you should be able to use the recovery option and restore it to the factory state, so please try using the recovery option.
This article is an initialisation procedure for those who could not use the recovery option.
Translated with DeepL.com (free version)
Initialising the Windows operating system
Initialising the Windows OS is quite tricky, but this procedure will wipe it clean.
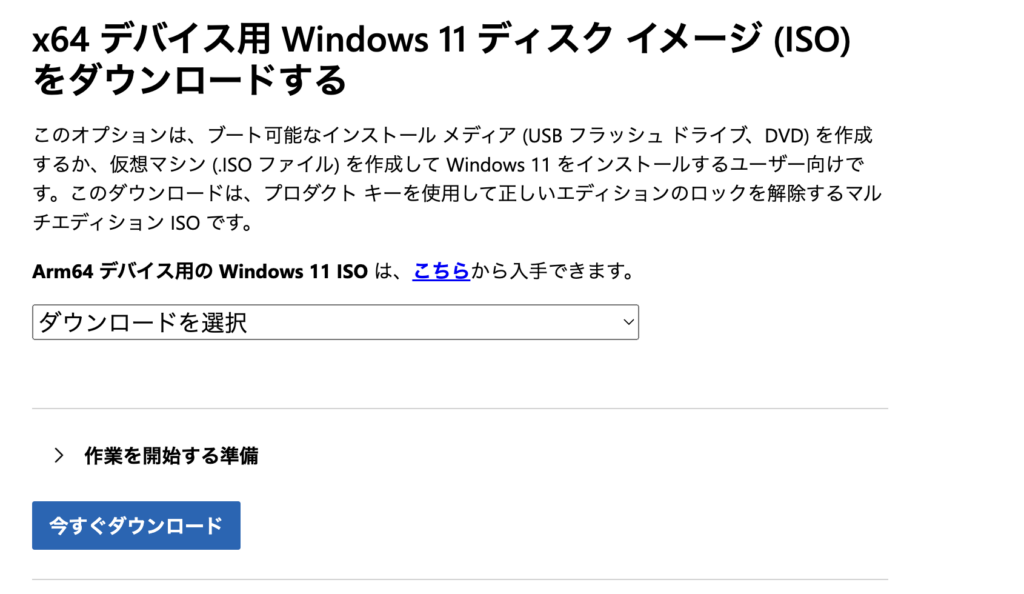
Windows IOS file downloads
Windows ISO file download. Access the download page.
Scroll down and you will find a link to download the ISO.

In the image, a 64-bit CPU is selected, but you can download the same by going to Settings > System > Advanced or by searching for System Information in Windows and checking System Type.
What you also need to be aware of is that the language of the site and the language your PC is set up in must match to be able to download. This is quite a trap, but when you search for the ISO download site you want to use, it is often an English site. Don’t be hasty and access the Japanese site to download.
Mount and initialise the ISO.
Mount the ISO. Mounting instructions are taken from official sources.
1. navigate to the location where you downloaded the ISO file. Then right-click on the ISO file and select Properties. 2.
2. on the ‘General’ tab, under ‘Programs:’, select ‘[Change...]’ select ‘Explorer as the programme used to open the ISO file and select Apply’.
3. right-click the ISO file and select Mount.
4. Double-click to view the files inside. Double-click setup.exe to launch Windows 11 Setup.
When the setup.exe file is executed, the initialisation screen is displayed, so proceed according to the contents displayed.
At this time, if the ‘Delete all’ selection screen appears, select that option.
Initialisation starts. However, during the upgrade, the check for updates does not proceed from 46%.
In my case, I updated the PC to the latest in the first place, restarted it and then re-ran it.
If I left it for a rather long time, it rebooted and completed.
Initialisation is now complete. However, the contents that have been written in detail on the HDD actually remain.
In other words, when you use restoration software, etc., the data that should have been erased can be retrieved.
In order to prevent information leakage, chant the doomsday spell described below.
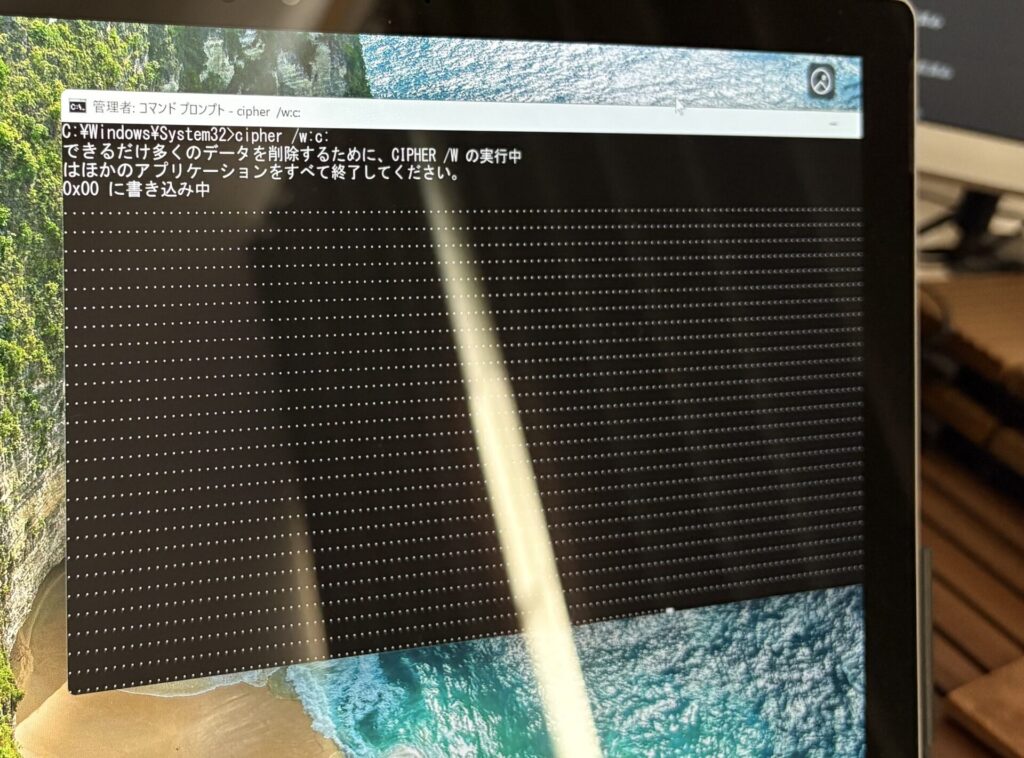
Casting the doom spell ‘cipher’ at the command prompt.
Simply open a command prompt and run the following.
If you also have a D drive, it will be ‘cipher /w:d:’.
cipher /w:c:This command does what it says: it overwrites the data three times over the free space on the specified drive.
This makes it considerably more difficult to restore.
One point to note is that it only overwrites empty space, so it is important to erase and format unnecessary files and directories.
The actual execution of this process is quite long, so leave it alone.

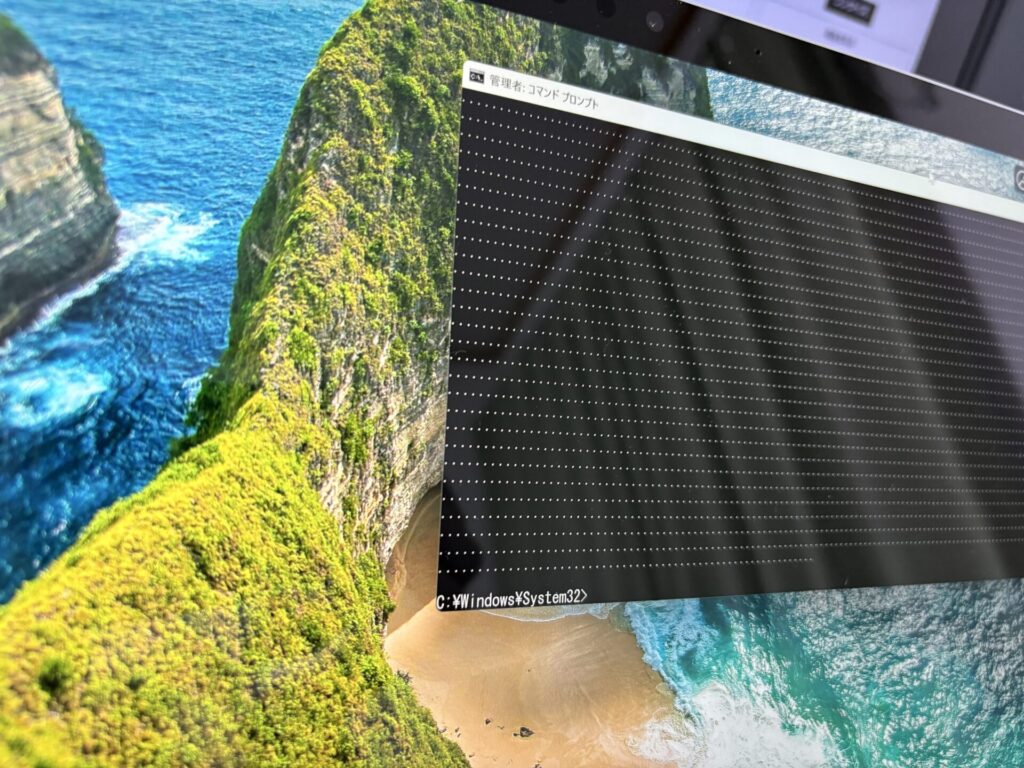
Here’s what it looks like when it’s over.

This allows you to dispose of them safely.
Summary
The initialisation process of the Window OS must be done carefully. Otherwise, it can lead to information leakage.
In the company I used to work for, we used to take out the HDD, burn it with a microwave, and then destroy it.
It is essentially a sure thing to do that much to make sure that the data cannot be lost.


